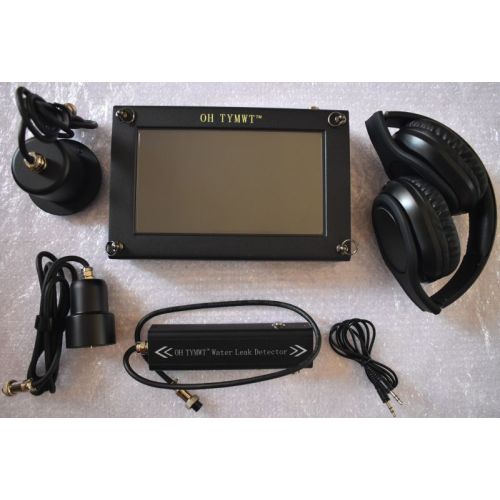
Outside water leak detection starts by confirming the buried pipe route and operating condition, screening accessible fittings, ground-listening at consistent intervals and verifying the strongest repeatable area with a second method before excavation.
This guide provides a standardized outside water leak detection procedure for buried water networks, plus an indoor workflow for concealed plumbing. It covers acoustic leak detectors, listening sticks, pressure testing, pipe locators, thermal imaging and—where appropriate—tracer-gas methods.
Before you start
| Check | What to confirm |
|---|---|
| Pipeline information | Route, length, diameter, material, joints, valves, pressure, burial or concealment depth, repair history and estimated water loss. If the route is uncertain, review our GPR and route-mapping guide. |
| Site conditions | Access, traffic, machinery, pumps, electrical equipment, drainage, soil or surface type and a safe working area. |
| Instrument readiness | Battery charge, sensor and headphones, cables and connectors, probe type, gain and filter settings, plus a short functional check. |
| Reference readings | Measure several known non-leaking points before judging a suspected signal. |
| Safety authorization | Obtain permission before isolating supplies, pressurizing a line, drilling verification holes or excavating. |
INDOOR PLUMBING
Indoor leak detection procedure
Initial site survey
- Inspect damp patches, stains, peeling paint, mold, swollen flooring, unusual warmth, dripping and the extent of water damage.
- Ask when the problem began, whether it is continuous or intermittent and where water appears on the floor or ceiling below.
- Check water-meter movement with all normal outlets closed, where this is permitted and practical.
- Use the observations to define the most likely pipe system and search area before instrument testing.
Isolate the system and perform a hydrostatic test
- Test hot-water and cold-water lines separately so the affected circuit can be identified.
- A convenient connection point is often near the water-heater inlet or outlet. Isolate appliances and fittings that must not be exposed to test pressure.
- For a formal pressure-retention test, use water—not compressed air. Cap open outlets and connect a suitable water-pressure pump and calibrated, pulsation-resistant gauge.
- Increase pressure only to the level permitted by the pipe, fittings, appliance manufacturer and local regulations. Approximately 8 bar and a 30-minute observation period may be used as a field reference, not a universal rule.
- Record starting pressure, stabilization time, ending pressure, water temperature and visible seepage. Exclude gauge error, trapped air, thermal effects and leaking test connections before interpreting a pressure drop.
Determine the pipe route
- Review drawings and ask the owner or installer to identify pipe direction, branches, joints and repair points.
- If the route is unknown, use a suitable pipe locator or other auxiliary locating method before acoustic pinpointing.
- For hot-water pipes, controlled heating and thermal imaging may help trace the line. Cold-water lines may require a controlled temperature contrast and more time.
- Mark the route and suspected joints on the surface.
Acoustic screening and pinpointing
- Create the quietest practical environment. Stop water use and turn off pumps, fans, air conditioners, washing machines and other noise sources where safe.
- Take comparative readings along the marked route. Keep sensor placement, contact pressure, gain and filter settings consistent.
- Focus on bends, tees, valves, hot-melt or fusion joints, repaired sections, penetrations and areas indicated by moisture or pressure loss.
- Reduce gain if the signal clips or saturates. A repeatable localized signal that strengthens toward one point is more useful than one high reading.
- Repeat the scan from different directions and, if possible, at a quieter time.
Verify before opening the structure
- Cross-check the suspected location with pressure behavior, moisture measurement, thermal imaging, inspection openings or tracer gas as appropriate.
- Confirm that the signal is not caused by drains, electrical equipment, mechanical vibration, water flowing in another pipe or sound conducted through the structure.
- Obtain authorization before drilling, cutting or opening a wall or floor.
Choose equipment from the pipe and site
Compare compact concealed-pipe, spectrum-analysis and multi-sensor configurations.
BURIED WATER NETWORKS
Outdoor water-network leak detection procedure
Collect network information
- Confirm the route, distribution, length, diameter, material, joint type, operating pressure, burial depth, estimated leakage, valve status and available drawings.
- Identify recent construction, heavy vehicle loading, soil settlement, pressure surges and previous repairs.
- If the route is uncertain, locate and mark the pipeline with an appropriate utility locator or ground-penetrating radar before leak surveying.
Conduct a visual and chamber survey
- Walk the route and inspect valve chambers, hydrants, meter pits, drains, stormwater chambers and other accessible structures.
- Look for unexplained flowing or standing water, persistently wet ground, cracking, subsidence, sinkholes, washed-out soil or unusually vigorous vegetation.
- Where standing water is present, observe movement safely. A small floating leaf may indicate flow direction. Pumping out a chamber requires authorization and safe controls.
- Do not enter a confined space. Treat chambers as potentially hazardous and follow local confined-space rules.
Screen fittings and divide the search area
- Use a listening stick or contact sensor at accessible valves, hydrants, service connections and meters.
- Compare signal strength and sound character between adjacent fittings to narrow the suspected section.
- Check for non-leak sources such as partially closed valves, pressure-reducing valves, pumps, transformers, traffic and normal consumption.
- Where available, use correlators or noise loggers to screen long sections and prioritize areas for ground listening.
Ground listening and pinpointing
- Survey directly above the marked pipeline. Use a grid where the route or suspected area is broad.
- As an initial field rhythm, place the ground sensor roughly every two walking steps and listen for about 8–10 seconds per point. Reduce spacing near stronger signals.
- Maintain the same sensor orientation, ground contact, gain and filters so readings remain comparable.
- Late evening or early morning is often preferable because background noise and water demand are lower and network pressure may be more stable.
- Approximately 3–5 bar may be favorable for acoustic work. Low pressure, small leaks, soft ground, deep burial and plastic pipe can produce weak signals.
Confirm the suspected leak point
- Rescan the strongest area from both directions and use a finer grid. A genuine candidate should be repeatable under comparable conditions.
- Confirm with a second method where practical: correlation, step testing, controlled isolation, moisture or soil inspection, tracer gas or a small verification bore.
- Locate other utilities and obtain permits before drilling or excavation. Do not excavate solely on one acoustic reading.
How pipe material affects sound
| Pipe type | Typical behavior | Field implication |
|---|---|---|
| Metal | Leak sound travels farther and may be heard at several fittings. | Useful for section screening, but the loudest accessible fitting is not necessarily directly above the leak. |
| PVC / PPR / HDPE | Sound attenuates quickly and may be low-frequency or difficult to detect. | Use closer intervals, suitable lower-frequency filters, stable pressure, and consider correlation or tracer gas. |
| Mixed network | Changes in material, diameter, fittings and backfill alter transmission. | Re-establish reference levels after each transition and avoid comparing unlike sections directly. |
For a focused comparison of acoustic and tracer-gas methods, read our underground water pipe leak detection guide.
Difficult conditions and alternative methods
| Condition | Recommended response |
|---|---|
| Low pressure or very small leak | Test at a quieter time, stabilize pressure within system limits, shorten the interval and consider tracer gas. |
| Plastic pipe | Use suitable lower-frequency analysis, close sensor spacing, contact measurements at fittings and tracer gas or plastic-pipe correlation. |
| High background noise | Stop controllable sources, use filters carefully, repeat during low-demand hours and compare consistency rather than volume alone. |
| Deep pipe or soft/wet soil | Use a suitable ground sensor, improve surface contact, tighten the grid and combine acoustics with isolation or tracer gas. |
| No reliable acoustic signal | Recheck route and pressure, verify that the line is charged, inspect test connections and change method instead of continually increasing gain. |
| Need to enhance the signal | Any pressure increase must remain within the complete system rating and be performed by qualified personnel with relief, isolation and monitoring controls. |
Compressed gas stores substantial energy. Never pressurize a water pipeline beyond the permitted test pressure and never improvise connections. Isolate vulnerable components, use a regulator and relief device, ventilate the area, control ignition risks and follow the gas supplier’s safety data and local regulations. Hydrogen tracer gas must be an approved non-flammable mixture used only with compatible equipment.
General safety precautions
- Do not use the instrument in flammable or explosive atmospheres unless it is specifically certified for that environment.
- Protect equipment from direct sunlight, excessive heat, heavy rain, immersion, strong impact and crushing loads.
- Keep sensors, cables and personnel clear of traffic; use barriers, warning signs, high-visibility clothing and traffic control where required.
- Before drilling or excavation, identify electricity, gas, telecommunications, sewer and other concealed services.
- Do not open energized chambers or enter valve pits, manholes or confined spaces without authorization, testing and appropriate controls.
- Headphones can reduce awareness of vehicles and hazards. Maintain a spotter where necessary.
- Do not disassemble or repair the instrument. Contact authorized after-sales service if a fault occurs.
Care and maintenance
- After use, switch off and wipe the housing, sensor, probe, cables and connectors with a clean, soft, dry cloth.
- Do not use corrosive solvents. Ensure all components are dry before closing the case.
- Inspect cables, connectors, sensor faces, headphones, seals and accessories for wear or damage.
- Store the equipment in its protective case in a cool, dry place away from direct sunlight and high temperature.
- For long-term storage, follow the product battery instructions. As a general reference, check and recharge approximately once per month; do not remove a built-in battery unless the manual permits it.
- Verify instrument function and pressure-gauge calibration periodically, especially before critical surveys.
Field record checklist
Date, time, weather, operator and site
Pipe route, material, diameter, burial depth and pressure
Meter or flow observations and valve status
Instrument, sensor, gain and filter settings
Listening points and comparative readings
Interference and noise sources
Suspected point and confidence level
Confirmation method and result
Photos, markings and repair outcome
Recommended leak detection systems
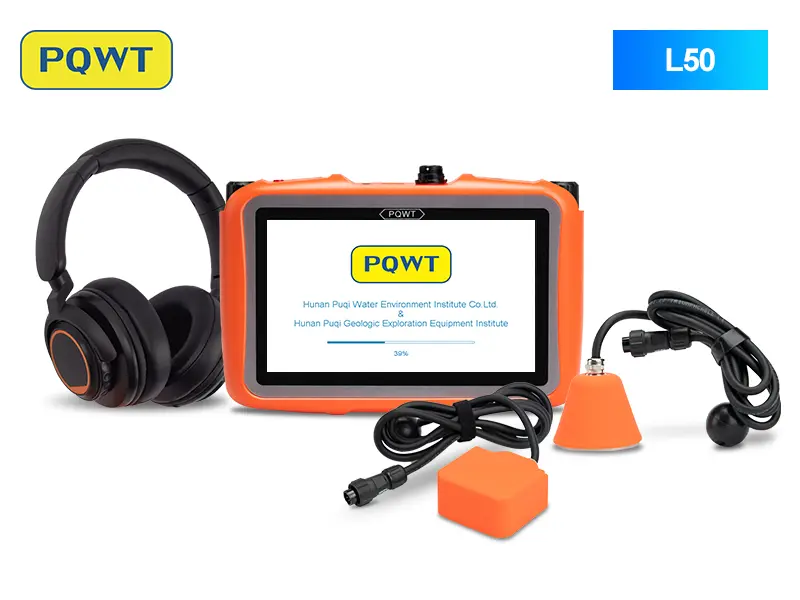
Compact indoor acoustic detector
Broad screening and close comparison beneath floors and inside walls.
View product →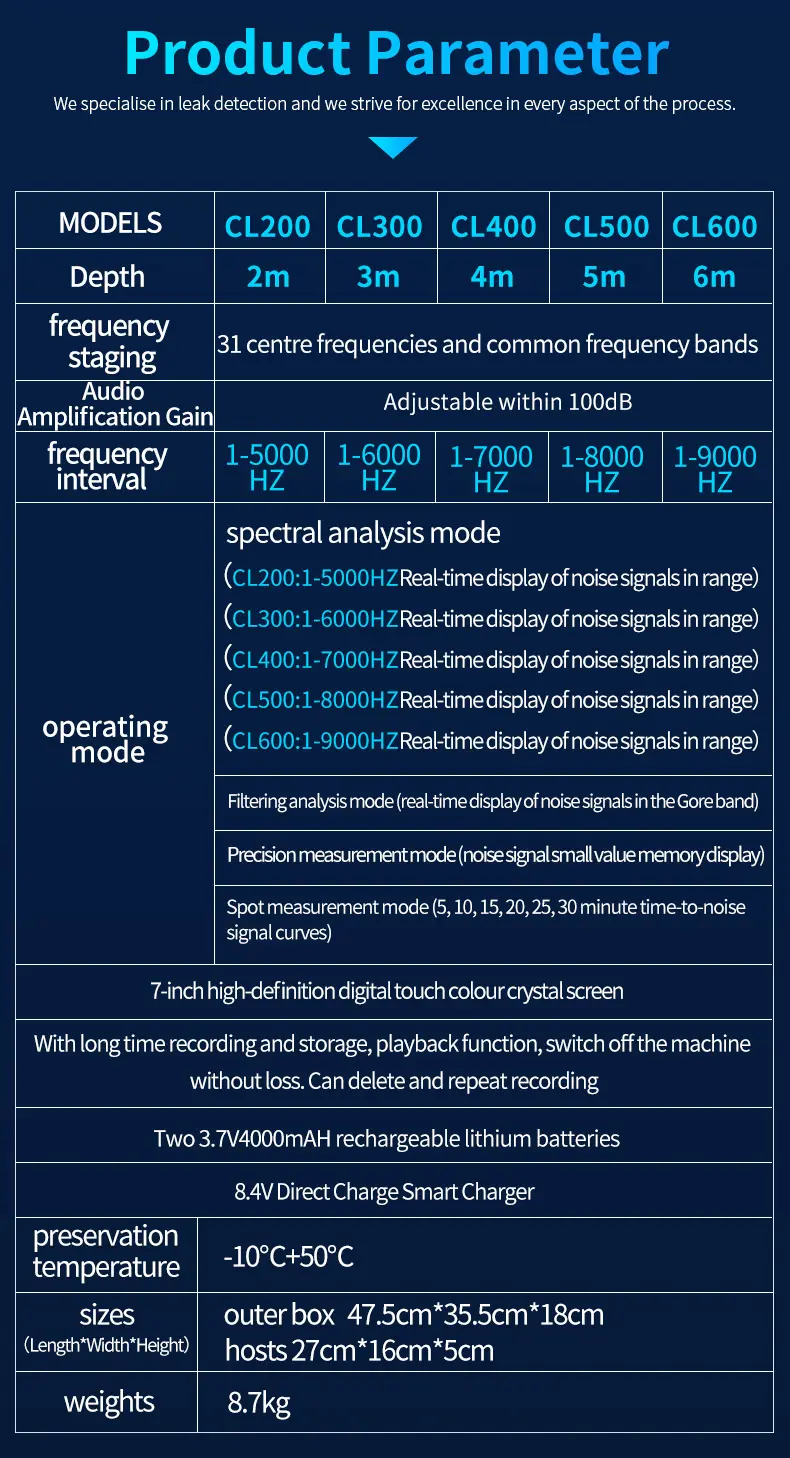
Professional spectrum analysis
Selectable filters, recording and comparison for pressurized water and heating pipelines.
View product →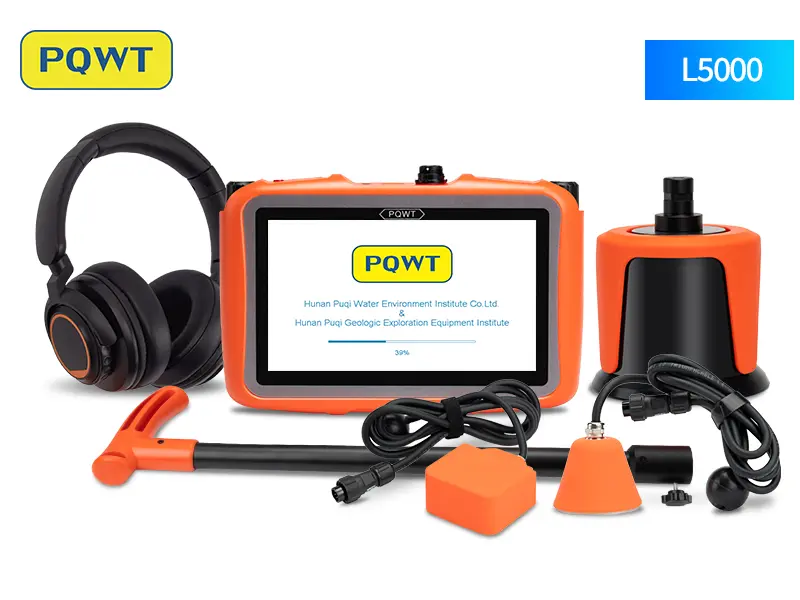
Multi-sensor acoustic system
Comparative screening and pinpointing for concealed and buried pressure pipes.
View product →See the complete professional water leak detector collection for additional configurations, or download the English leak detection SOP PDF for a field-ready checklist.
Frequently asked questions
What is the first step in an indoor water leak survey?+
Begin with a site survey and system isolation. Review visible damage, customer observations and water-meter behavior, then test hot and cold circuits separately before acoustic pinpointing.
When is the best time for outside water leak detection?+
Late evening or early morning is often more suitable because traffic, machinery, water demand and background noise are lower. The most important requirement is stable, comparable test conditions.
Why are PVC, PPR and HDPE leaks harder to hear?+
Plastic pipe attenuates vibration more quickly than metal and often produces weaker, lower-frequency signals. Use closer listening intervals, stable pressure, suitable low-frequency filters and a second method such as tracer gas when needed.
Can compressed air be used for a water-pipeline pressure test?+
For a formal hydrostatic pressure-retention test, use water rather than compressed air. Compressed gas stores substantial energy and requires approved procedures, compatible equipment, pressure regulation and qualified personnel.
When should a leak point be considered confirmed?+
Treat a location as confirmed only when the signal is repeatable and supported by site evidence or a second verification method. Document the basis before opening a wall, floor or ground surface.
PROJECT REVIEW
Need equipment for outside water leak detection?
Send the pipe material, diameter, depth, pressure, estimated leak size, route length, surface type and site environment. We will recommend a suitable configuration.