Start by confirming real water loss and mapping the pipe. Select the sensor for the surface, keep gain and filter settings consistent, establish a quiet baseline, screen the route at equal intervals, repeat the strongest zone with closer spacing, and verify the suspected point with another observation or method before excavation. Do not treat the loudest single reading as automatic proof of a leak.
Acoustic leak detection is a comparison process. A useful result comes from testing known pipe points under similar settings and finding a repeatable pattern—not from listening once at an unknown location.
The exact menu and included sensors vary across PQWT-125A, 125B, 125C, 125D and 125E, but the field logic below remains consistent.
Prepare the site before switching on the detector
- Confirm that water loss is real by checking the meter, pressure behavior, visible fixtures and isolation valves.
- Identify the pipe material, diameter, pressure, likely depth and total route length.
- Map the route from plans, valves, meters, hydrants, fittings or a separate utility locator.
- Mark accessible comparison points and divide long lines into practical test zones.
- Choose a quiet testing period and note pumps, traffic, machinery and electrical interference.
Match the sensor to the contact surface
| Contact condition | Typical sensor approach | Good practice |
|---|---|---|
| Tile, concrete or floor | Stable floor or ground sensor | Clean the contact point and keep sensor pressure consistent |
| Wall or concealed branch | Wall/contact sensor | Compare points along the mapped route, not random wall areas |
| Valve, meter or exposed fitting | Contact probe or suitable acoustic sensor | Use fittings as screening points before close ground listening |
| Soil, asphalt or buried main | Outdoor ground sensor | Use equal spacing and repeat at a different time if noise is unstable |
| Weak acoustic transmission | Complementary method | Consider tracer gas, correlation, pressure testing or inspection |
A repeatable eight-step acoustic workflow
Record the starting conditions
Note pressure, material, diameter, depth, surface, time and background noise so later comparisons have context.
Build a baseline
Listen at a known quiet point and a known pipe contact point. Set a usable gain without saturating the display or headphones.
Keep settings consistent
Use the same gain, filter and listening duration across one comparison pass. Constantly changing settings destroys the ranking.
Screen at equal intervals
Move along the mapped route and record comparable readings. For long lines, begin at valves and fittings to narrow the active zone.
Mark a repeatable rise
A useful candidate is not just loud; it should repeat and normally strengthen toward one zone under similar conditions.
Reduce the spacing
Retest the candidate zone with closer points from both directions and compare neighboring readings.
Change one variable
Repeat at a quieter time, with another sensor or with a second method. A real leak indication should survive reasonable checks.
Verify after repair
Confirm that the sound pattern, pressure behavior or water loss changes after repair and document the outcome.
How to distinguish a useful pattern from background noise
| Observation | Possible interpretation | Next check |
|---|---|---|
| One loud point that disappears on repeat | Transient traffic, movement or poor contact | Repeat after noise passes and reseat the sensor |
| Broad noise across the entire route | Pump, flow, electrical or mechanical background | Test during isolation or a quieter period |
| Signal rises toward one point from both directions | More credible leak-like pattern | Reduce spacing and verify with another observation |
| Strong signal only on one exposed fitting | May be transmitted sound from another source | Compare upstream and downstream fittings |
| Plastic pipe remains quiet | Weak acoustic transmission is possible | Check pressure and consider tracer gas or another method |
When the PQWT-125E tracer-gas option can help
Tracer gas can complement acoustic listening when pipe material, low pressure, deep burial or high background noise makes vibration difficult to compare. The pipe section is prepared according to an approved procedure, and an appropriate detector is used above the route to look for a repeatable gas indication.
Tracer gas is not a shortcut around safety. Use only an approved gas mixture and suitable pressure procedure, follow local regulations, confirm ventilation and keep ignition and confined-space risks under professional control.
Common causes of false excavation decisions
- Testing without confirming the pipe route.
- Changing gain or filters at every point and then comparing the numbers.
- Using only one reading instead of a repeatable pattern.
- Ignoring water use, pumps, traffic and machinery during the survey.
- Assuming the loudest point is directly above the leak on every pipe material.
- Relying on a stated detection depth without considering pressure, material and surface.
- Excavating before pressure, correlation, tracer gas or another observation confirms the zone.
Choose the PQWT-125 configuration for the workflow
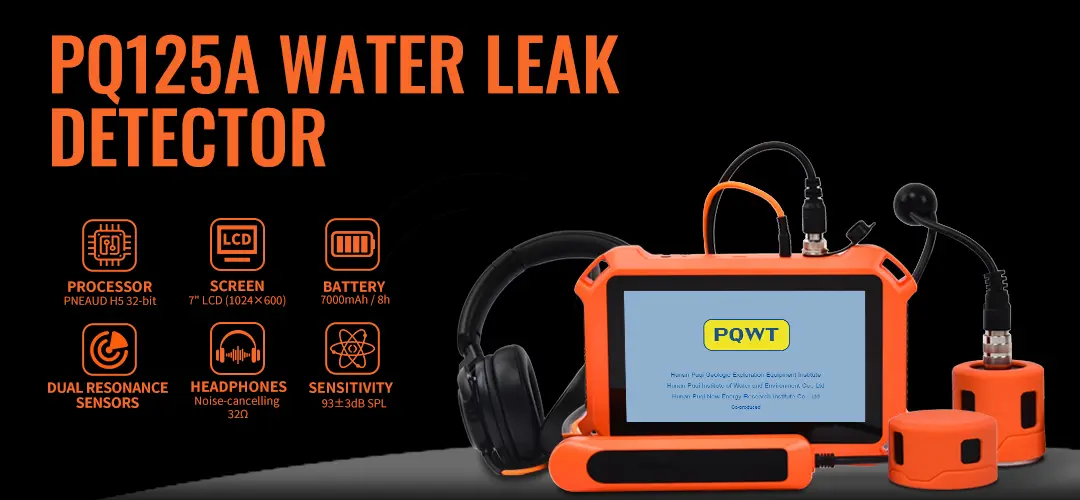
Indoor floor and wall work
Focused sensors for concealed pressure pipes in buildings.
View product →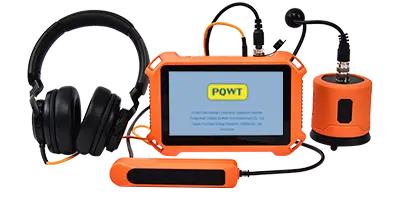
Outdoor ground listening
Route-based comparison for buried pressurized pipelines.
View product →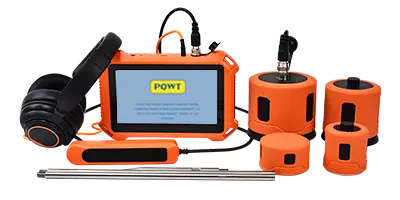
Four-sensor mixed-project kit
Broader acoustic coverage for indoor and outdoor work.
View product →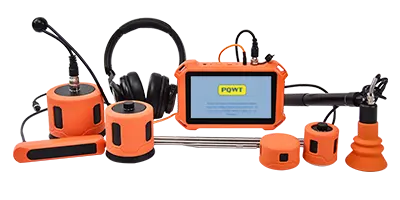
Acoustic plus tracer gas
Complementary verification for difficult leak conditions.
View product →Frequently asked questions
What should I test first with a PQWT-125 detector?+
Confirm water loss, pressure and the pipe route first. Then establish a quiet baseline and compare known pipe points under consistent settings.
Should I use maximum gain?+
Not automatically. Excessive gain can amplify background noise and saturate the display. Use enough gain for comparison while keeping the signal stable and repeatable.
How far apart should acoustic test points be?+
Spacing depends on pipe material, access, pressure and route length. Start wider for screening, then reduce spacing around a repeatable candidate zone.
Can I use the detector if I do not know the pipe route?+
Route uncertainty makes comparisons unreliable. Use plans, fittings, valves or a suitable utility locator before trying to pinpoint a leak.
Why does a plastic pipe produce a weak signal?+
Many plastic pipes transmit leak vibration differently from metal. Low pressure, deep burial and soft soil can weaken it further, so another method may be needed.
How do I confirm the final leak point?+
Repeat from both directions, compare neighboring points and use another observation or method when possible. Verify the result again after repair.
PROJECT REVIEW & MODEL SELECTION
Request a PQWT-125 model and training recommendation
Send the pipe and site conditions. We will recommend the suitable sensor package, provide the current quotation and explain the operating workflow.