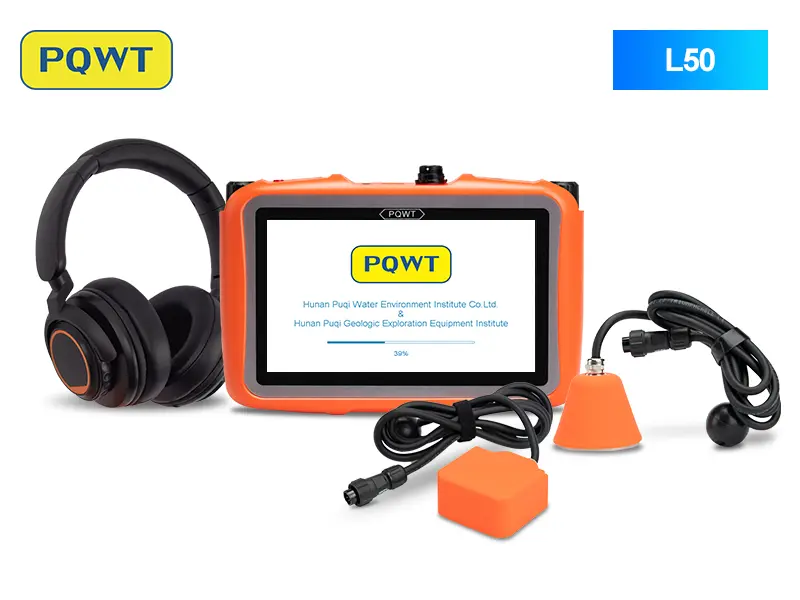
Connect the suitable sensor before power-on, establish a quiet reference, scan the known pipe route in General Detection mode with consistent settings, narrow the spacing around a repeatable change, compare adjacent points in Locating mode and verify the candidate area with flow, pressure or moisture evidence before repair.
The PQWT-L50 is a compact acoustic detector for pressurized water pipes concealed under floors or inside walls. It helps an operator compare sound and vibration; it does not see through concrete or automatically prove that the strongest sound is a leak.
Good results depend more on a disciplined comparison than on maximum gain. Record the pipe material, diameter, pressure, route, surface and background noise before the first measurement, then keep the setup consistent between points.
1. Prepare the pipe and the listening environment
Confirm that the line is pressurized and determine the most probable pipe route. Identify valves, pumps, drains, air-conditioning equipment and traffic that may create competing sound. If possible, compare during a quieter period.
- Pipe material, diameter and approximate concealment depth
- Normal operating pressure and evidence of water loss
- Known branches, fittings and accessible contact points
- Floor or wall finish and nearby mechanical noise
2. Select the triangular or square sensor
Connect the selected sensor and headphones before switching on. A loose connector or changing contact pressure can create differences that look like a leak signal.
| Sensor | Typical contact | Use it when | Operator check |
|---|---|---|---|
| Triangular sensor | Most indoor floors | The base can sit stably on tile, screed or a firm floor | Keep all three contact points stable |
| Square sensor | Walls, cabinets and narrow areas | The triangular base cannot make consistent contact | Hold the contact face flat and repeat with equal pressure |
3. Screen the route in General Detection mode
Set a reference
Listen at two or more points away from the suspected area. Choose usable gain and volume without saturating the display.
Use regular spacing
Move along the route in equal steps. Keep sensor contact, gain, volume and measuring time consistent.
Mark stable changes
Note positions where the sound character and spectrum differ repeatedly—not just where one momentary peak appears.
Repeat from both directions
Return along the route. A useful candidate should remain logically stronger than nearby control points.
4. Narrow the interval in Locating mode
Reduce the spacing around the repeatable change. Locating mode presents point-to-point comparison bars; use them as a relative pattern, not an absolute leak score. Repeat the suspected point and at least one control point on either side.
- Keep the same settings used for the local comparison.
- Measure adjacent points with the same contact time and pressure.
- Look for a stable maximum that fits the pipe route.
- Move the sensor slightly and repeat to test the boundary of the probable zone.
5. Verify before opening the floor or wall
A strong acoustic point can come from a valve, pump, flowing drain, electrical equipment or structural resonance. Confirm that it persists and agrees with other evidence.
Water meter
With legitimate uses isolated, check whether the meter continues to move.
Pressure behavior
Compare static pressure or perform an appropriate pressure test.
Moisture evidence
Use a moisture meter or inspection method without assuming the wettest point is the source.
Second survey
Repeat at another time if traffic or machinery may have influenced the first result.
L50 parameters, charging and care
| Item | Listed value | Practical note |
|---|---|---|
| Frequency | 1–10,000 Hz | Use filtering to compare signal character; more gain is not always better |
| Modes | General Detection + Locating | Screen broadly before close comparison |
| Gain / volume | 10 levels / 10 levels | Keep each fixed within one comparison set |
| Working time | Up to 15 hours | Actual time varies with battery, volume, display and temperature |
| Charging | 5 V, 2 A; about 7–8 hours | Charge in a dry area with the specified supply |
| Working temperature | −20 °C to +50 °C | Protect the instrument from moisture, impact and extreme storage |
| Warranty | 2 years | Final terms and package are confirmed in the quotation |
When to consider another detector
Frequently asked questions
Which L50 sensor should I use on a floor?+
Use the triangular sensor when it makes stable three-point contact. Use the square sensor on walls, cabinets or narrow surfaces where the triangular base is unstable.
Should I use maximum gain?+
No. Excessive gain can amplify background noise and saturate the display. Choose a usable level and keep it consistent while comparing points.
Can L50 locate leaks in PVC or PPR?+
It can support acoustic checks, but plastic attenuates sound. Low pressure, small leaks, depth and soft construction layers may require tracer gas, pressure testing or another complementary method.
Does the highest bar prove the exact leak point?+
No. It identifies a candidate area. Repeat the point, compare controls and verify with route, flow, pressure or moisture evidence.
What details are needed for an L50 quotation?+
Send country, pipe material, diameter, concealment depth, pressure, pipeline length, surface, noise, quantity and suspected application.
PROJECT REVIEW & MODEL SELECTION
Send your pipe details for an L50 suitability check
Include the country, pipe material, diameter, concealment depth, pressure, pipeline length and suspected area. We will confirm the model, package, warranty, shipping and current export quotation.