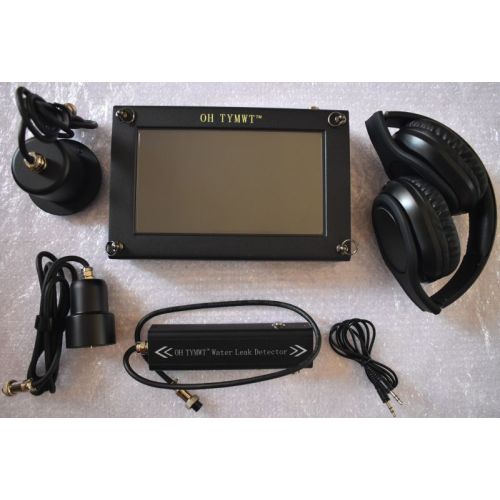
A pressurized leak creates vibration as water escapes through an opening. Part of that energy travels through the pipe wall, water and surrounding ground. An acoustic leak detector converts vibration at a valve, fitting, floor or ground surface into an electrical signal, amplifies selected frequency bands and presents it through headphones and often a visual level or spectrum. The operator compares repeatable signals at multiple points to narrow the leak before repair.
Acoustic leak detection is widely used because it can screen and pinpoint many pressurized water leaks without opening the full pipe route. The instrument does not simply announce a leak wherever the number is highest. It helps an operator compare how sound and vibration change across a known network.
Success depends on the leak, pipe and site. A metal main under pressure may transmit a clear signal over distance, while a small leak on plastic pipe under soft soil may be much quieter. Understanding those variables prevents wasted excavation and unrealistic expectations.
Why a pressurized water leak creates vibration
When water escapes through a crack, failed joint or small opening, the pressure difference accelerates the flow. Turbulence at the opening and interaction with the pipe wall create vibration. The surrounding cavity, soil and surface can also radiate sound. What reaches the sensor is therefore a combination of pipe-borne and ground-borne energy.
The useful signal is rarely a clean whistle. It may sound like a hiss, rush, rumble or granular vibration mixed with pumps, traffic, electrical equipment and normal water use. The important evidence is a repeatable pattern that strengthens toward one zone and remains distinguishable when background conditions change.
Three paths carry leak information to the operator
Contact listening at a valve or fitting is usually used to screen a network section. Ground listening then compares shorter intervals above the mapped route. This two-stage approach is more reliable than walking randomly and choosing the loudest place on the property.
Along the pipe wall
Vibration can travel toward valves, meters and fittings. Rigid metal usually carries higher-frequency energy farther than flexible plastic.
Through the water column
Pressure fluctuations can propagate in the pipe and contribute to signals measured at accessible contact points.
Into soil and pavement
Energy radiates from the leak into surrounding material and may be measured above the route with a ground sensor.
Through floors and slabs
Hard surfaces can transmit vibration well but may also carry pumps, footsteps and building services from elsewhere.
What the detector does with the signal
Signal processing can make faint vibration easier to evaluate, but it cannot create information that never reaches the sensor. If pressure is too low, the pipe route is wrong or soft ground absorbs the signal, more gain may amplify background noise rather than reveal the leak.
| Component | Function | Operator decision |
|---|---|---|
| Contact or ground sensor | Converts vibration into an electrical signal | Use the correct sensor and stable contact for the surface |
| Pre-amplifier | Raises a weak signal to a usable level | Avoid gain so high that everything sounds equally loud |
| Frequency filters | Reduce unwanted bands and emphasize useful content | Compare bands instead of trusting one preset |
| Headphones | Preserve tone, rhythm and consistency | Listen for a stable leak-like character, not only volume |
| Level or spectrum display | Shows relative energy and frequency distribution | Use the visual result to support—not replace—listening |
| Memory or recording | Allows repeated points to be compared | Keep time, location, gain and filter settings consistent |
A repeatable acoustic leak-detection workflow
Confirm leakage
Check the meter, pressure behavior, consumption history and visible signs before assuming an underground leak.
Map the pipe route
Identify material, diameter, valves, branches, depth and service connections. Locate the route separately if it is uncertain.
Reduce water use and noise
Choose a quiet period and control pumps, appliances, irrigation and nearby machinery where possible.
Screen contact points
Listen at valves, hydrants, meters and fittings to identify the section carrying the strongest repeatable signal.
Ground-listen the section
Use regular spacing above the route with the same gain, filter and sensor contact.
Bracket the peak
Move beyond the suspected point in both directions and shorten spacing around the strongest consistent zone.
Repeat under a changed condition
Recheck after a pause, pressure change or background-noise change to distinguish the leak from a fixed nuisance source.
Verify before excavation
Use a second method or controlled exposure when the repair cost, pipe material or signal uncertainty is high.
Why some leaks are easy to hear and others are not
| Field condition | Typical acoustic effect | Practical response |
|---|---|---|
| Higher pressure | Often creates a stronger leak signal | Measure safely and compare at normal operating pressure |
| Metal pipe | Usually transmits vibration farther | Begin at accessible contact points before ground listening |
| PVC, PE or HDPE | Damps higher frequencies and may shorten detection distance | Use closer spacing, lower bands or tracer gas if appropriate |
| Deep burial or soft soil | Attenuates ground-borne vibration | Improve sensor contact and consider another method |
| Hard pavement or slab | Can couple the signal well but spread building noise | Repeat at quiet times and compare multiple points |
| Large opening | May create lower-frequency turbulence but not always a sharp peak | Combine listening with pressure and flow evidence |
Common sounds that can imitate a water leak
Mechanical and environmental noise often travels farther than expected. Pumps, pressure-reducing valves, partially closed valves, flowing drains, transformers, traffic, wind, refrigeration, air-conditioning, irrigation and neighboring service lines can all create convincing signals.
A nuisance source is more likely to remain tied to a machine or fitting, change when that source switches off, or fail to form a repeatable peak along the mapped route. Time-based comparison is powerful: record what is running, repeat when conditions change and do not interpret every loud signal as pipe failure.
- Keep gain and filter settings constant while comparing neighboring points.
- Check both sides of the suspected point rather than stopping at the first loud reading.
- Verify that the signal follows the pipe route, not a power cable, drain or building structure.
- Repeat at a quieter time if traffic or machinery dominates the spectrum.
- Isolate a section or change pressure only when it is safe and operationally permitted.
How to verify a suspected leak before excavation
Confidence is strongest when independent evidence agrees: abnormal flow, pressure loss, a contact-listening section, a ground-listening peak and a repeat test. For difficult plastic pipes or very small leaks, tracer gas may provide a different physical signal. Correlation, temporary logging, thermal imaging or a targeted inspection may also be appropriate depending on the network.
Mark a confidence zone rather than claiming millimeter precision. Document the pipe route, measurement points, settings, background conditions and reasons for selecting the excavation area. After repair, confirm that the abnormal flow, pressure or sound has disappeared.
Acoustic detector options for different field scopes
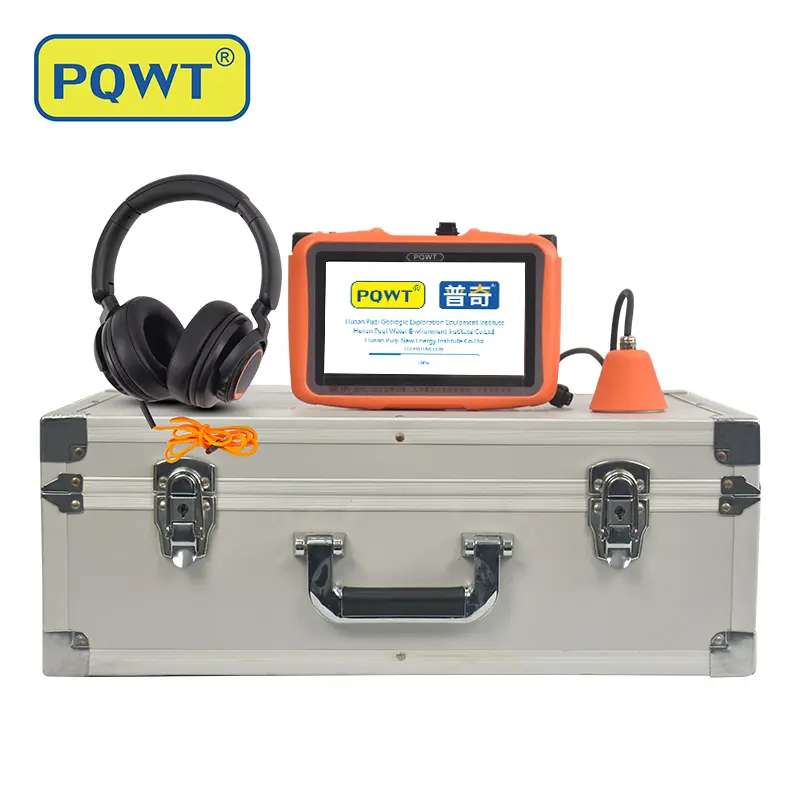
Portable acoustic pinpointing
A compact option for comparative listening on buried and concealed pressurized water pipes.
View product →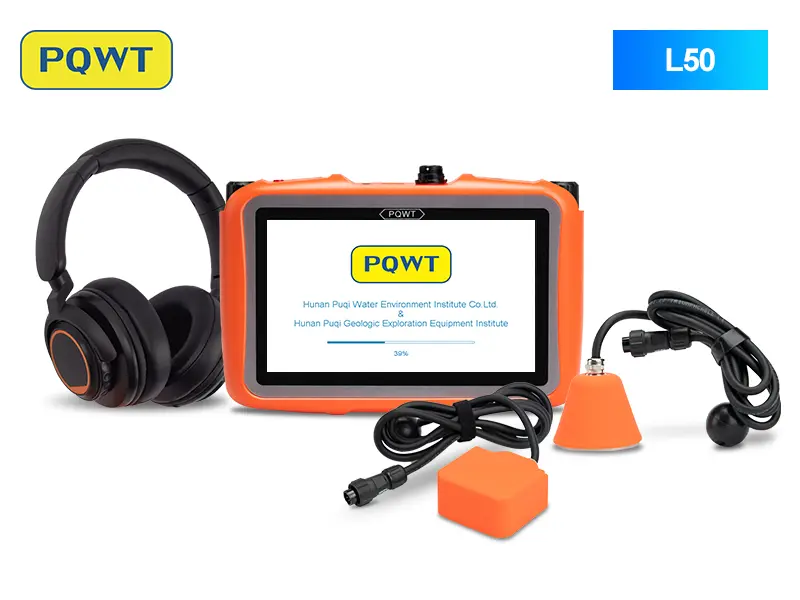
Indoor and outdoor acoustic work
For staged screening and pinpointing across floors, walls, yards and buried service routes.
View product →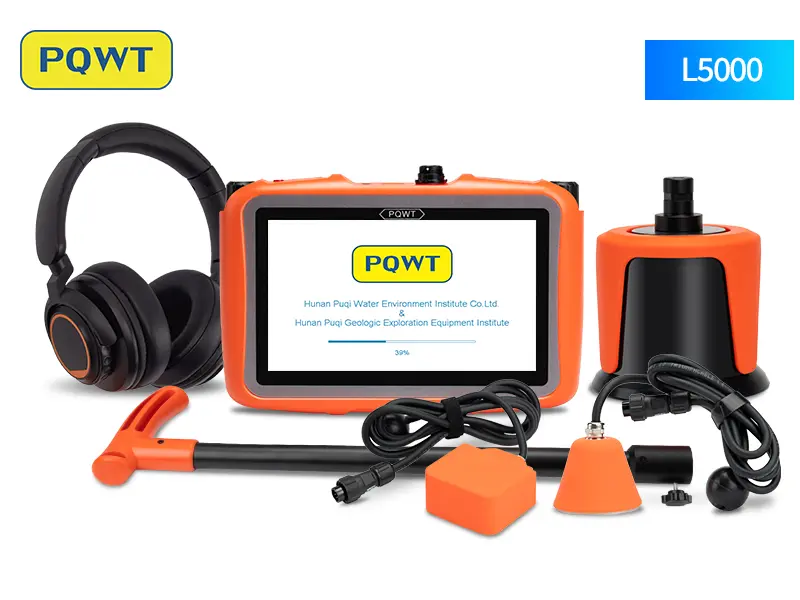
Professional pipeline leak locating
A broader workflow for technicians handling mixed indoor and outdoor pipe environments.
View product →Frequently asked questions
Can an acoustic leak detector find every underground water leak?+
No. Very low pressure, plastic pipe, deep burial, soft ground, small leaks and heavy background noise can make acoustic detection difficult. Another method may be needed.
Is the loudest point always directly above the leak?+
Not necessarily. Pipe features, surface coupling and sound paths can shift or spread the strongest signal. Bracket the area, repeat measurements and verify with other evidence.
Why are plastic pipes harder to test acoustically?+
Flexible plastic damps vibration, especially higher frequencies, so the useful signal may travel a shorter distance. Use closer spacing, suitable lower-frequency filters and consider tracer gas for weak signals.
Do I need both headphones and a spectrum display?+
They complement each other. Headphones preserve tone and consistency, while the display helps compare relative level and frequency content. Neither should be used without a systematic field comparison.
Should I excavate after one strong reading?+
Usually no. Recheck the route, measure beyond the peak, repeat under changed conditions and look for independent flow or pressure evidence before disturbing the surface.
PROJECT REVIEW & MODEL SELECTION
Choose a leak detector around the pipe and the site
Send the pipe material, diameter, pressure, burial depth, surface, route length and suspected leak symptoms. We can compare acoustic, tracer-gas and mixed-method options.