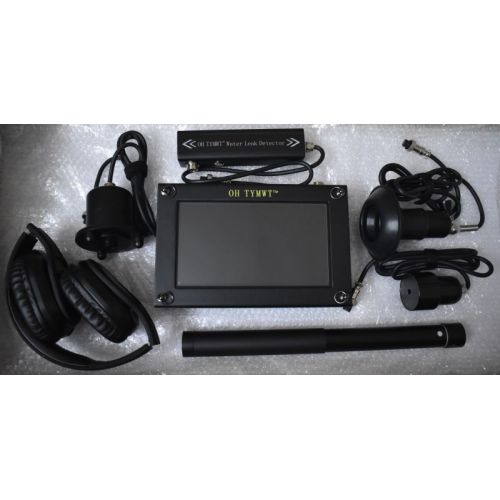
There is no universal guaranteed detection depth for an acoustic water leak detector. The instrument does not see through soil; it listens for vibration created by a pressurized leak. Usable depth depends on pressure, leak size, pipe material and diameter, burial material, surface coupling, background noise and operator technique. A shallower quiet leak on plastic pipe can be harder than a deeper high-pressure leak on metal pipe.
A depth number in a product specification describes a recommended or stated application range under particular conditions. It should not be read as a promise that every leak at that depth will produce a detectable signal. The same instrument may perform very differently on two pipes buried at the same depth.
The responsible question is not only “How many meters?” It is “Will this leak create enough repeatable energy to reach an accessible sensor point, and can that energy be separated from other noise?” This guide turns that question into a field-ready selection and verification process.
Rated depth is not the same as field detectability
Acoustic detection begins at the leak opening. Pressure forces water through the opening, creating turbulence and vibration. Some energy travels along the pipe wall and water column; some enters the surrounding soil, slab or pavement. Every interface attenuates or reshapes the signal before it reaches the sensor.
A catalog depth therefore cannot describe the complete signal path. It does not specify the pressure, leak aperture, pipe material, backfill, surface, sensor contact or competing noise present at your site. Treat the number as a model-selection boundary that still requires a field trial—not as an excavation guarantee.
Eight factors that control usable detection depth
| Factor | Why it matters | What to check |
|---|---|---|
| Operating pressure | Higher pressure often produces stronger turbulence and vibration, while an isolated or unpressurized pipe may be nearly silent. | Record normal and test pressure; do not exceed the pipe’s safe operating limit. |
| Leak opening and flow | A very small seep may not radiate enough energy. A large opening can create lower-frequency flow noise rather than one sharp tone. | Confirm abnormal flow, meter movement or pressure loss before listening. |
| Pipe material | Rigid metal commonly carries vibration farther; PVC, PE and HDPE often damp higher frequencies more quickly. | Identify material and joints, then shorten listening spacing on plastic pipe. |
| Pipe diameter and wall | Diameter, wall thickness, lining and fittings change propagation and resonance. | Do not reuse one filter setting for every pipe. |
| Burial depth and backfill | Soft soil, loose fill, groundwater pockets and multiple interfaces can attenuate ground-borne energy. | Note soil, recent excavation, voids and saturated areas. |
| Surface above the route | Concrete and asphalt may couple vibration well but can also spread traffic or building noise. Soft soil often needs better sensor contact. | Use the correct ground, floor or wall sensor and keep contact consistent. |
| Background noise | Pumps, valves, drains, traffic, wind and electrical equipment may exceed the leak signal. | Test at a quieter time and repeat after nuisance sources stop. |
| Measurement discipline | Changing gain, filters, spacing or contact pressure makes neighboring points difficult to compare. | Log point, time, sensor, gain and frequency settings. |
Depth means different things indoors and outdoors
A detector that is suitable for shallow concealed building pipes is not automatically the best tool for a long buried main. Sensor type, filtering, recording and the ability to compare multiple points may matter more than the largest advertised depth figure.
Concealed building pipes
The surface distance may be short, but pumps, drains, appliances and structural vibration can create confusing peaks. Use a quiet baseline and compare a grid of points.
Vertical and branched services
Sound may travel along framing and fittings. Confirm the pipe route and compare both sides of a suspected zone before opening the wall.
Buried service lines
Soil and surface coupling dominate. Map the route first, screen accessible fittings, then shorten ground-listening intervals around a repeatable peak.
Long municipal sections
Valve spacing, traffic and network branches increase uncertainty. Contact listening, logging or correlation can narrow the section before local ground listening.
How to test whether a deep leak is genuinely detectable
Confirm the loss
Use meter, flow, consumption or pressure evidence to establish that a leak is likely and active.
Map the route
Locate the pipe, branches, valves, meters and changes in material or diameter before interpreting sound.
Record the site
Write down pressure, material, diameter, depth, surface, soil, route length and active noise sources.
Screen contact points
Listen at valves, hydrants, meters and fittings to identify the section carrying the strongest repeatable vibration.
Build a baseline
Measure a known quiet point using the same sensor, gain, filter and contact method.
Compare fixed intervals
Move along the mapped route with consistent spacing, then shorten the spacing around a suspected zone.
Bracket the signal
Continue beyond the strongest point in both directions. A credible peak should weaken away from a focused zone.
Change one condition
Repeat at a quieter time or after an approved pressure or isolation change. A true leak signal should respond logically.
Verify independently
Use pressure testing, correlation, tracer gas or controlled exposure when repair cost or uncertainty is high.
When acoustic depth is not enough
Deep or weak-signal projects often need a staged workflow. Use network evidence to confirm loss, locate the pipe, narrow the section acoustically or with loggers, and then apply a second method to improve excavation confidence.
| Method | Best fit | Important limitation |
|---|---|---|
| Tracer gas | Weak acoustic signal, plastic pipe, small leaks or difficult background noise | Requires safe gas handling, controlled introduction and suitable surface migration. |
| Correlation | Accessible contact points on a known pressurized main | Performance still depends on pipe data, sensor spacing and signal transmission. |
| Temporary loggers | Screening a larger network over time | Finds suspicious zones rather than an exact excavation point. |
| Pressure or isolation test | Confirming that a section loses pressure | Confirms leakage but may not identify the exact location. |
| Thermal or visual inspection | Heating lines, wet surfaces or accessible structures | Temperature and moisture patterns can be indirect or displaced. |
| Pipe and utility locator | Confirming route and depth before listening | Locates the utility, not the leak itself. |
Choose the detector around the site—not the largest depth claim
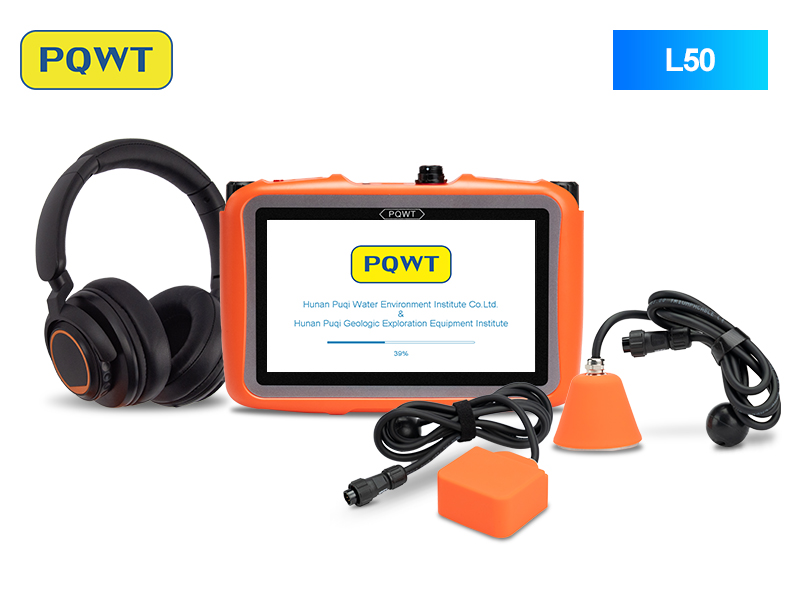
Floors, walls and concealed building pipes
Compact triangular and square sensors for broad screening and close comparison on pressurized indoor services.
View product →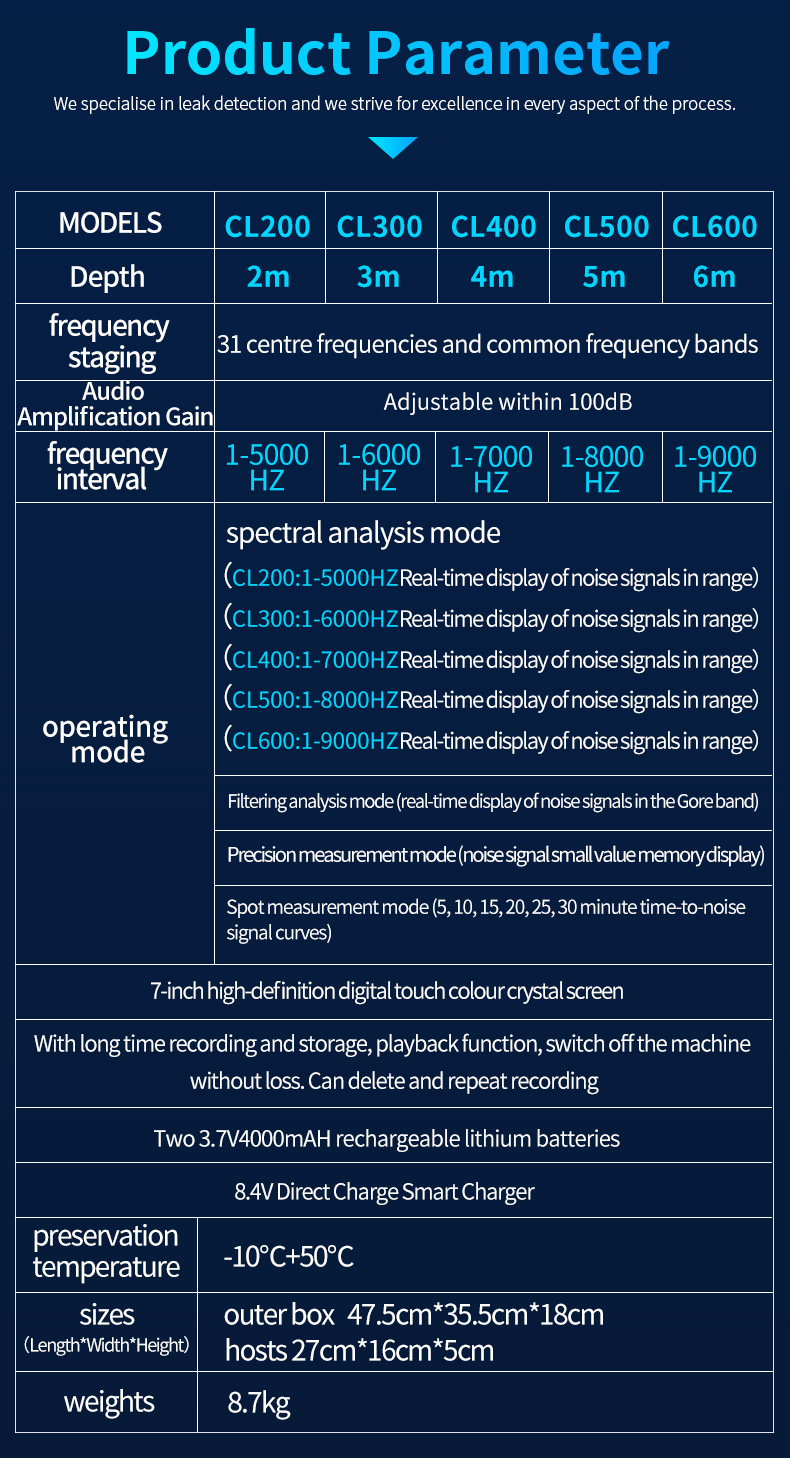
Professional spectrum-led inspection
Selectable frequency analysis, filtering, recording and playback for technicians comparing pressurized pipe signals.
View product →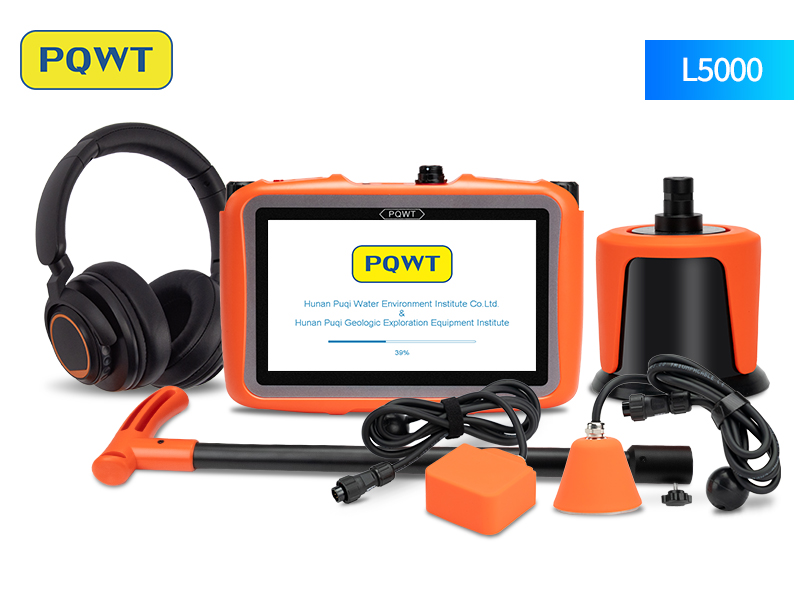
Multi-sensor indoor and outdoor workflow
Three-sensor configuration for staged screening and pinpointing across mixed building and buried-pipe environments.
View product →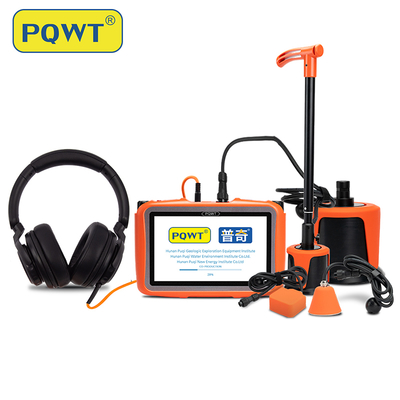
Broader four-sensor field scope
A multi-sensor option for varied surfaces and professional projects where route, contact and noise conditions change.
View product →Send this information before requesting a recommendation
With this information, a supplier can compare sensor configuration and workflow rather than recommending a model from depth alone. Ask for a written scope, included accessories, training, warranty and a demonstration plan that resembles your real site.
- Country and project type: building, service line, municipal network, heating or industrial pipe.
- Pipe material, diameter, approximate age and any material changes along the route.
- Normal operating pressure and whether the suspected section can be isolated safely.
- Burial or concealment depth, surface material, soil or backfill and total route length.
- Visible symptoms, meter or flow evidence, pressure loss and estimated leak duration.
- Available valves, meters, hydrants or other contact points.
- Noise sources and the quietest practical testing time.
- Photos, route sketch and any previous test results.
Sources and editorial note
Written as an original technical guide using the source material below. Product suitability and field results still depend on site conditions, operator technique and independent verification.
- On the Acoustic Filtering of the Pipe and Sensor in a Buried Plastic Water Pipe — Research on pipe and sensor effects in acoustic leak detection.
- Characterization of In-Pipe Acoustic Wave for Water Leak Detection — Experimental study of acoustic signal propagation and attenuation.
- Evaluation of Acoustic Emission Sensing Technologies for Pressurized Buried Water Pipeline Leak Detection — U.S. Bureau of Reclamation research project on pressurized buried pipelines.
Frequently asked questions
Is the advertised detection depth guaranteed?+
No. A stated depth is not a guarantee for every leak. Pressure, leak flow, pipe material, diameter, burial material, surface, background noise and measurement technique all affect whether a repeatable signal reaches the sensor.
Can an acoustic detector find a leak when the pipe has no pressure?+
Usually not reliably. Acoustic instruments depend on energy created by active leakage. An unpressurized or isolated pipe may require a controlled pressure test, tracer gas or another method.
Are plastic pipes harder to test at depth?+
Often yes. PVC, PE and HDPE generally damp vibration more than rigid metal, especially at higher frequencies. Closer listening intervals, suitable lower-frequency filtering and a second method may be needed.
Is a deeper-rated detector always the better choice?+
No. The correct sensor, stable contact, useful filters, recording, operator workflow and fit for the surface may matter more than the largest depth number.
How should I verify a supplier’s depth claim?+
Use a known or controlled pressurized leak with documented pipe material, diameter, pressure, burial, surface and background noise. Repeat measurements at multiple points and confirm the result independently before accepting a location claim.
What project details should I send for model selection?+
Send country, pipe material, diameter, pressure, burial depth, route length, surface, noise conditions, available access points and the leak symptoms. Photos and a route sketch are also valuable.
PROJECT REVIEW & MODEL SELECTION
Tell us the pipe—not only the depth
Send your country, pipe material, diameter, pressure, burial depth, route length, surface and noise conditions. We will compare L50, CL200, L5000 and L7000 around the actual project.